
Bathroom Makeover: Travertine Tune Up
When Joe from Constructed Matter and I launched our Room Makeover offering, I never thought our first client would be my mother-in-law. She reached out to me a couple weeks ago asking if we could do it pronto. Planning and coordinating these things with clients take time which is why we haven't had any to show yet. But, we were excited to jump in and do our first one with someone I know. Our Room Makeover deal is meant to be a small-ish in scale project lasting a week or less. And by a week or less I mean the actual work, aka labor. Two weeks ago I began the designing and planning. We have to allow some time for orders to come in, which they didn't but we made do. We finished the install in about 3 days. I want to show you the before photo first but I shan't. Straight to the result!
Ok let's back up now. While my mother-in-law would have loved to tear out the travertine tile, it just wasn't in the cards. Too much time. Too much money. She has other projects she wants to tackle so we had to deal with it. The main problem with the travertine is just how yellow and brown it comes off most of the time. Here's what it looked like before.
So, we had the travertine, fine. But, that counter that I think looks like "tiger" granite had to go. I used to know the builder grade name but I purposefully blocked out of memory bc it is not yummy.

Clearly that had to go and was going to be a huge factor in brightening and de-jungle-fying the joint. Next up was toning down the travertine. Travertine was a huge flipping trend a while back when beige was all the rage. It's not a bad tile. I wouldn't choose it for my own house, but I do like that it is a natural stone. You can have it polished, which my in-laws did, and it looks shiny and new. Only problem is it is still beige. Some travertine comes off really yellow and even more so when paired with browns, reds, and..... anything. My mother-in-law tried to work with it and painted the walls a grey blue, even tying the gray and the beige together with the shower curtain. She thought it would feel like the ocean with the sand color and the blue. If I'm honest It didn't look half bad. But, it still felt yellow-y/brown and dark. To make matters worse all of the fixtures were ORB. I mean come on. More brown. :(

So, we stripped it all back. It comes to no shock to you I'm sure that I was painting this room white. I'm telling you I really really tried to think of something else. I studied. I Pinned. I Googled. The only thing I could think of to tone down the beige/yellow/brown of it all was to paint the walls white. It worked like a charm. Actually there were a few things that really made HUGE strides in correcting the browny yellow factor in this bathroom.
Paint. Obviously.
Removing the blinds on the window. Even when they were slanted open it still made the room dark.
Replacing the counter
To keep from adding any beige/yellow back to the mix we opted for black fixtures and hardware. I went a little haywire here actually. I had a black can of spray paint and nothing could stop me. I didn't even mean to enter the shower area but nothing was safe. I painted the shower curtain rod. I painted the shower head, tub faucet and handle. I don't know how that will hold up but my MIL was cool with it and if it turns crappy we'll just swap out the stuff for a new black version. For now it will work. The light fixture I ordered was backordered so I just ripped that old ORB mofo off the wall and painted it. Slapped on some new shades and called it a day.
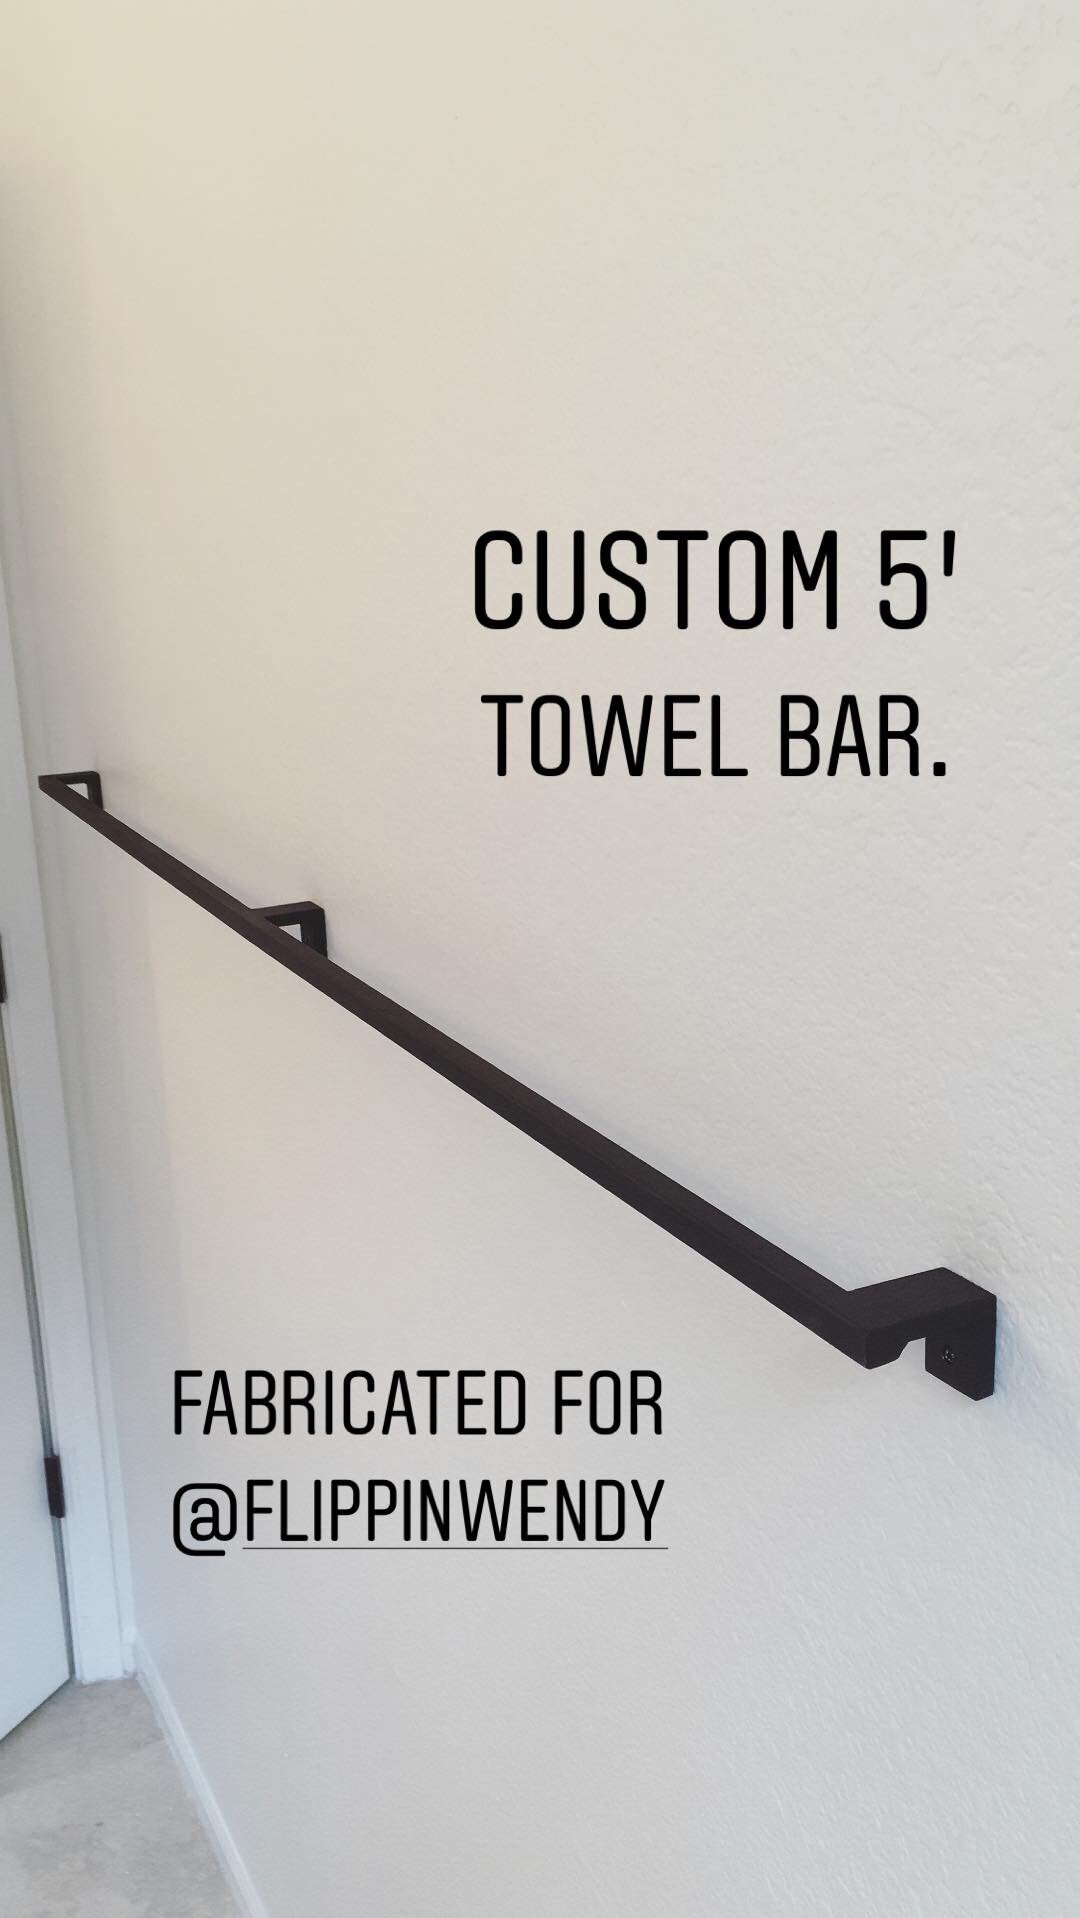
Speaking of painting hardware and fixtures, Joe made us some custom towel bars. I looked for what felt like 5 hours for a long ass towel bar. No one makes a long ass towel bar. We need a long ass towel bar in this bathroom because when guests come in town to visit, which they do, often, theres need to be room for all the towels. So, Joe welded a 5' foot long ass towel bar and it is magical. It was raw metal so I of course painted it black. If it rubs off I will get it powder coated. My photos all sucked so I stole this one from Joe.
He also made a matching TP holder and hand towel holder.

Obviously there is a lot of experimentation here. I was sure to get these ideas cleared before implementing. But, also, since I am over at this house often, and use this bathroom pretty often, I can check in on the things and fix as necessary. For a client (and not my family member) I would maybe not go to these experimental lengths. It's fun to test these theories though and see what happens so I can share with the world.
The last thing was to add the soft stuff. This is my favorite part. I don't care how much you do to a space in a renovation or makeover, if you leave it empty it will lack personality. If you fill it with your old stuff it will feel like a split personality. Finish it off! First I start with some things I know I want, like a piece of art or some vintage thing. In this case it was the Arizona and Ohio Eye Charts from Constructed Matter.

Next, I love going to Target, Lowes and West Elm and just throwing stuff in my cart. I tell this to my Design Therapy consult clients on the regular. When you finish your renovation or just want to revamp your space, go to the store and just start throwing shit into your cart. I'm not trying to get anyone to overspend by any means, but I've learned from my staging days that this job will never get done, or done well, if you don't just GO FOR IT. Sometimes shit works that you least expect. So, grab that cart and just fill it up. I usually fill up 2 or 3, honestly. Don't waste time hemming and hawing about do I really like it, will it fit, is it the wrong size, is it fugly....JUST GRAB IT. Take it all home and start grabbing from your pile to build your styled area. I can't tell you how many times I was so sure about something at the store and in the end it didn't make the cut. And guess what did? The thing I thought might be fugly. Take all the rest back. Then I finish it off by filling in with random stuff from around the house.

Another thing, don't just stick to the departments in the store that coordinate with the room you're working in. Use things from other rooms to dress it up. In this bathroom I bought kitchen towels to be used as hand towels because they had a better pattern. I also used a cheese tray as a tray on the counter and a dining charger as "art". Whatever. IDGAF. It works.
Funny Side note: the bust on the counter is from a garage sale and cost around $1.75. He was awesome until I knocked him over and his head fell off. My MIL glued his head back on and I found him in her laundry room waiting for me when scavenging the house for more things to bring in. I sprayed him all black (naturally because watch out I have this paint can in my head) so his decapitation didn't show.

And that was it! Bye bye dark yellow-y tiger brown bathroom. Let's see the difference.
BEFORE AND AFTER TIME!
The bathroom turned out so nice and bright and the travertine is actually a nice sandy color now rather than all the brown and beige.
Interested in your own Room Makeover....or Restyling of a room....or Design Therapy Consult? Check out your options on my Design Services page!
Shop This Room
Shelves: Home Depot
State Eye Charts: Constructed Matter
Succulents: Target
Towel Bars: Constructed Matter
Towels Bath: Target
Towel on Rod: Target
Towel on Cabinet Pull: Home Goods
Vessel Sink: Amazon
Vessel Drain: Amazon
Wood Box: Target